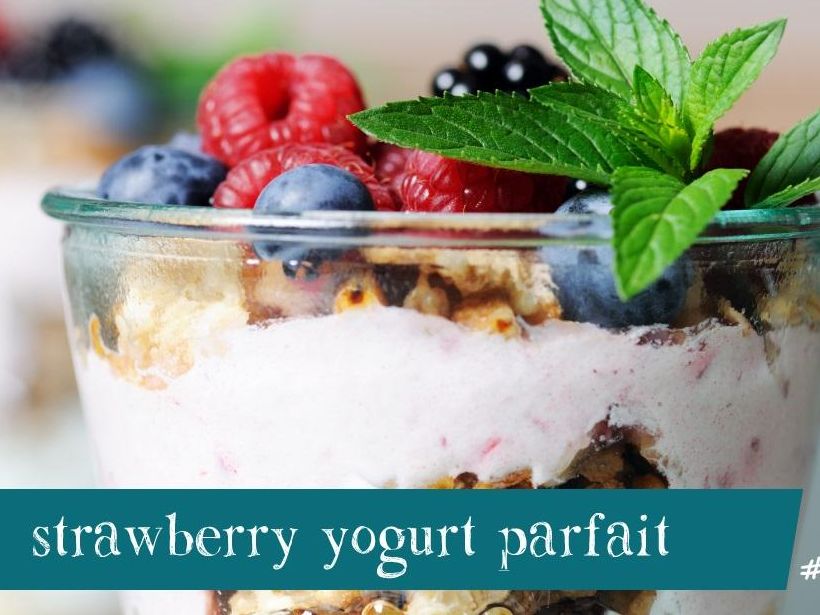
Let each child build their own parfait! Give them each 1/4 cup yogurt and 1/2 cup berries. They can layer yogurt and fruit until they reach the top of their cup. Add a tablespoon of granola on top for a little crunch if desired.
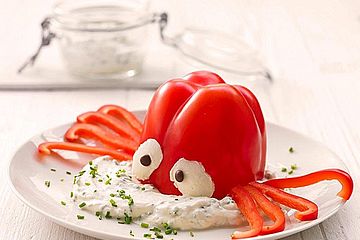
Wash the peppers and then cut off one of them where the stem is. Put it upside down on a plate and spead the dip around it. Make two eyes with the cream cheese dip or mayonaise . Put the cloves in the middle like pupils.
Cut the other pepper in stripes and put 4 on each side of the body.
Enjoy your little octopus !
Easy (Austrian) Cream Cheese Dip
8 oz cream cheese, softened
4 oz salted butter, softened
1 garlic clove, minced
2 Tbsp onion, finely chopped
1 Tbsp capers, chopped
1 ½ tsp sweet paprika*
1 tsp caraway seeds, ground
1 tsp prepared mustard
¼ tsp salt
Instructions
Combine all ingredients in the a medium mixing bowl and blend using an electric hand mixer, until everything is well mixed and the cheese is fluffy.
Refrigerate the spread in an airtight container for at least 1 hour before serving.
Note: you can chop any leftover red peppers and mix it in
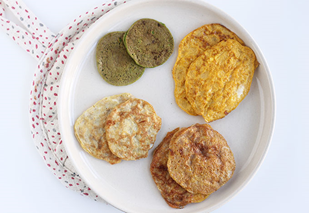
This makes one small
batch which will be 1-2 little-kid-size servings. To make more, simply double
the recipe. These are delicate pancakes with a texture that’s sort of custardy
like French toast. They are NOT like regular pancakes in that they are not
super bready. Which is to say: Be gentle when flipping them. I broke a few the
first time I made them! See the NOTES for the flavor variations.
Ingredients
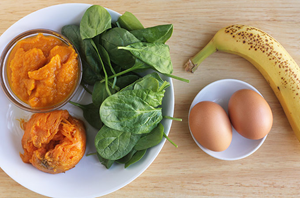
1/4 cup mashed very ripe banana
1 egg
1/8 teaspoon baking soda, optional
Butter or oil, for cooking
Toppings including maple syrup, applesauce, yogurt, or diced
fruit
Instructions
Place a nonstick or cast iron skillet or griddle over medium
heat. (I prefer nonstick.) Add a small slice of butter or oil.
Mash the banana with a fork in a medium bowl. Crack the eggs
into the same bowl and stir together. The batter will be very runny.
Spread the butter or oil with a spatula to coat the bottom of
the pan. Place 1 tablespoon batter into the pan to make small pancakes. Cook
until the edges start to set and the bottoms are lightly browned, about 1
minute. Flip carefully and cook for an additional minute. (These are delicate
so try to get your spatula halfway under the pancake, then carefully turn
over.)
Remove from pan—the pancakes will be very soft and tender—and
serve with any desired toppings.
Notes
Sweet Potato Pancakes:
Use 1/4 cup mashed roasted sweet potato instead of the banana and proceed with
the recipe
Spinach Banana Pancakes:
Place the banana (or sweet potato) and egg into a blender. Add a
handful of lightly packed baby spinach. Blend well, then proceed with the
recipe.
Pumpkin Pancakes:
Use 1/4 cup pumpkin puree instead
of the banana and proceed with the recipe. This batter will be thinner than the
banana or sweet potato flavors.
To store, let pancakes
cool fully on a wire rack. Store in an airtight
container in the fridge for up to 3 days. Reheat briefly to serve.
Or, freeze them either in a single layer in a gallon-size storage bag or with
parchment paper between each pancake in a stack in a storage bag. Heat as many
as needed on a plate and serve.
It may take a pancake or
two to get the hang of the process—these are delicate pancakes with a texture
that’s sort of custardy like French toast, so be gentle when flipping them. I
broke a few the first time I made them!
Add 1/8 teaspoon baking
powder for fluffier pancakes.
Add 1/4 teaspoon cinnamon or pure vanilla extract for additional flavor.
(Kids can do all the steps except for the skillet part !)
What you’ll need-
1 8-inch whole wheat tortilla
2 Tbsp natural peanut butter (we use sun butter, which is
based on sunflower seeds)
1/2 medium banana
1 Tbsp semi-sweet chocolate chips (optional)
How to make it-
Spread the peanut butter over the surface of the tortilla.
Slice the banana very thinly and then arrange the slices
over half of the tortilla. Sprinkle the chocolate chips over the banana slices
and then fold the tortilla in half.
Cook the quesadilla in a skillet over medium-low heat until golden brown and crispy on both sides. (If you don’t wanna use the stove, spry the top with Pam spray or brush lightly with oil and put it at 350 Degrees in oven until lightly browned.
Mix milk in small cups with different Food colors,
brush lightly on toast, pop in Toaster and enjoy.
Different options-
you also can try coloring softened cream cheese or for a change here’s how to make a fun GRILLED CHEESE SANDWICH!
about a cup of white shredded cheese, divide in 3 containers (maybe you can use this leftover yogurt cups – Recycling), 1 drop of food coloring in each cup, stir until distributed, put colored cheese in stipres on toast and then make your regular grilled cheese sandwich. It’s a lot of fun for us grown ups, too!
1 tbsp Italian herbs (if you use just plain tomato sauce)
3 tbsp shredded cheddar
1 tbsp grated Parmesan
How we do it –
Preheat oven to 375 degrees.
All this your kid can do (with your help, of course)
brush oil lightly
on pita bread
mix tomatosauce with Italian herbs
1 tablespoon on pita bread, brush over it
Sprinkle about 3 tablespoons shredded cheddar and 1
tablespoon parmesan over bread
Bake for about 10 minutes until cheese melts and browns a
bit
Enjoy!
Optional –
Of course there are endless possibilities to make it even fancier, by adding cooked meat, olives, basil leaves, peppers, mushrooms, …. to the topping. I usually put it on before I add the cheese, so the cheese melts and keeps all the goodies underneath moist and yummy.
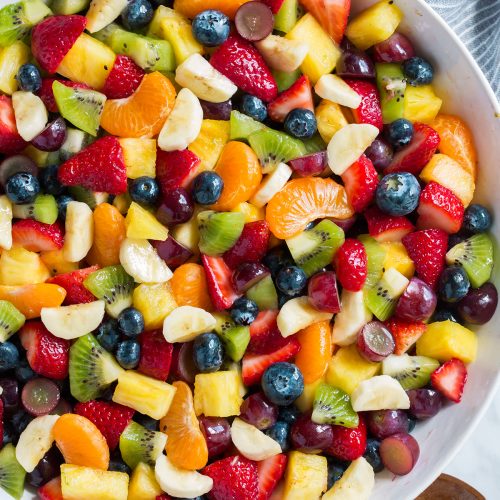
Put all the fruit you’re going to use on table(like a
pineapple, blueberries, bananas, strawberries, or whatever you can get.Talk
about using all of our senses to examine the fruit. What color is the banana? How does that prickly pineapple feel on your
fingers? What do those strawberries
smell like? Of course, we are going to
see what it tastes like later. It is,
not only an invitation to explore the fruit, but an opportunity to build
language skills…
Promote Self-help Skills
Give your child the opportunity to wash and cut the fruit
it just explored. Some of the fruit
requires big knives, which of course only the grown ups are allowed to
use. Give your child a plastic knive to
cut the fruit into smaller, bite-sized pieces….
it can be quite a daunting task but it isn’t one you
should shy away from. Children always
love the opportunity to create their own snack.
They are more eager to try a new food, when they have helped create it
themselves…
When all of the fruit is cut, let your child mix it in a
big bowl, maybe with some vanilla yogurt.
The children have now pride in knowing that they helped to prepare this
yummy snack…